Welcome to Day 14 of the 2021 Appvent Calendar! Today suggested by Ronan Mc Nicholl, we will share Micro:bit classroom, which is a free set of tools for teachers to create and manage Micro:bit activities.
What’s a Micro:bit? Skip to the next section if you already know!
A Micro:bit is essentially a mini-computer. They contain LEDs, buttons, sensors, and various pins (which can further expand their capability).
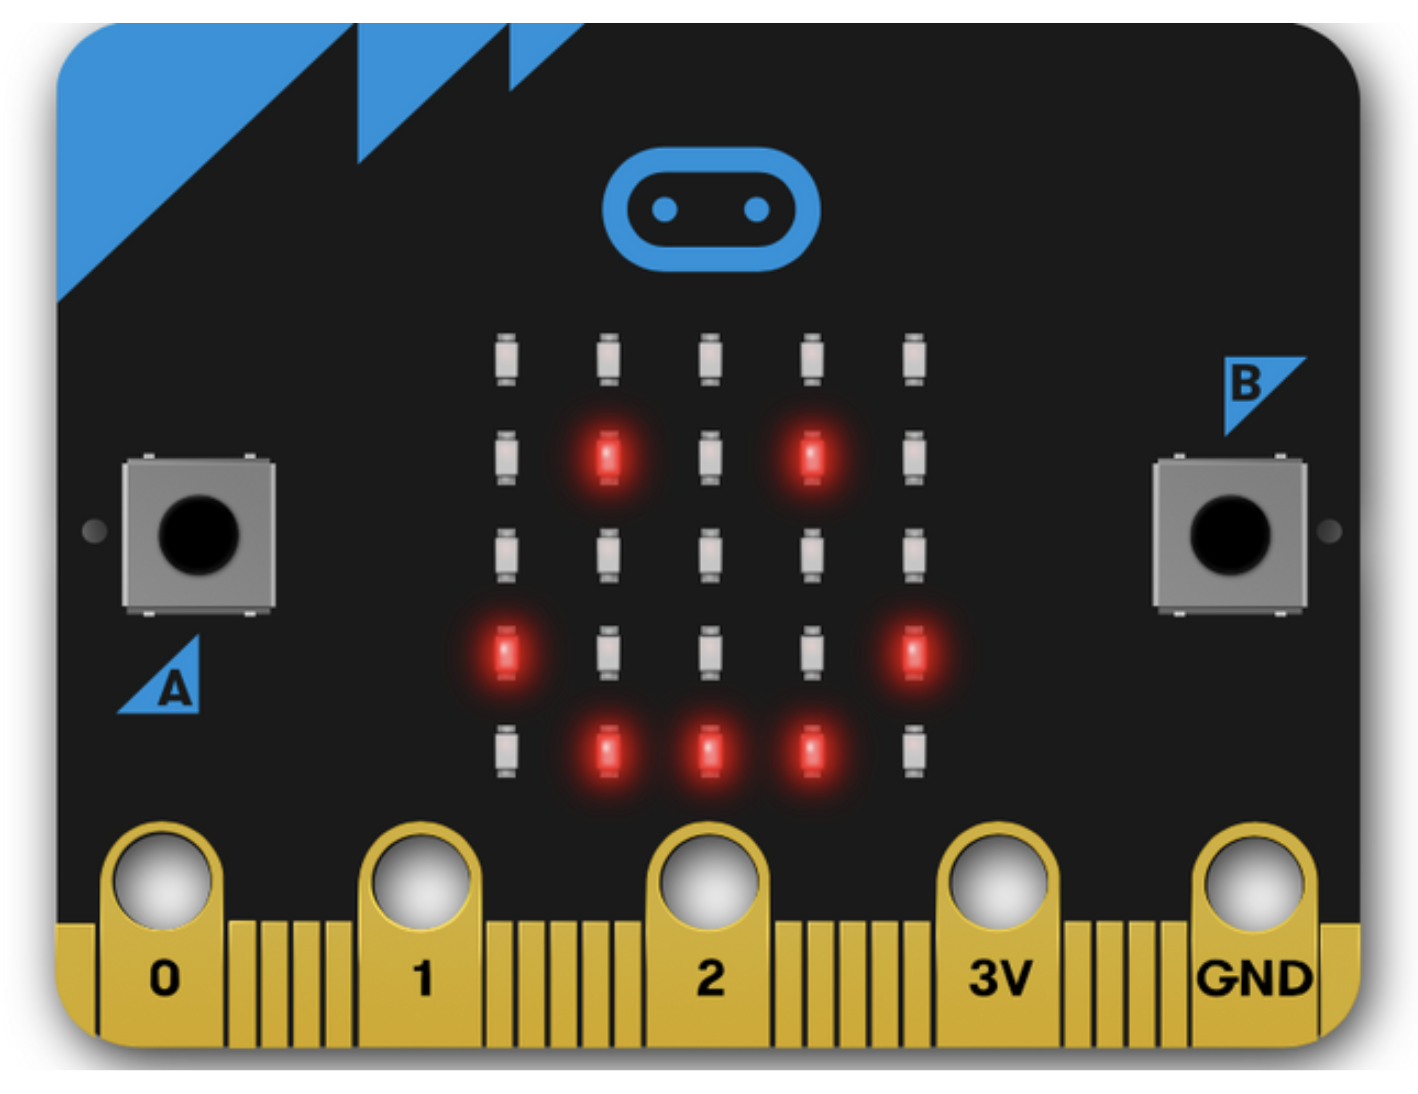
Micro:bits have proven to be a great resource for STEAM and computing teachers alike. Designed by the BBC they were launched in 2015 as part of an effort to raise the profile of computer science in the UK.
Various platforms were developed to help children program Micro:bits, including Microsoft’s MakeCode, and MicroPython. These interfaces made these mini-computers accessible to both novice programmers and hobbyists alike. In fact, physical Micro:bits are no longer required as these tools provide an onscreen simulator making this initiative accessible to all schools and children.
If you pop by the Micro:bit Educational Foundation website you will quickly see that there is already a large and established community built around the Micro:bit. The links at the top of the site help you get a feel for this community. Anyone new to the Micro:bit can head straight to the Get Started section which will guide you through your first activity and what you need to experience success. The Projects section is packed with activities organised into categories or you can go to the Lessons link to explore what’s possible for your subject.
OK, so what’s the Micro:bit classroom?
A relatively new feature, the Micro:bit classroom is a free set of tools from the Micro:bit Educational Foundation which allow teachers to create their own Micro:bit activities and monitor progress during a lesson. Developed in partnership with Nominet, the tools have helped schools during periods of remote learning as teachers can manage activities online.
How does this tool work?
Setting up your classroom involves a four-step process with each link easily accessible at the top of the site.
During this step you need to name your activity, choose a programming language, and select a storage setting (it is advisable to leave this ticked in case you lose your internet connection).
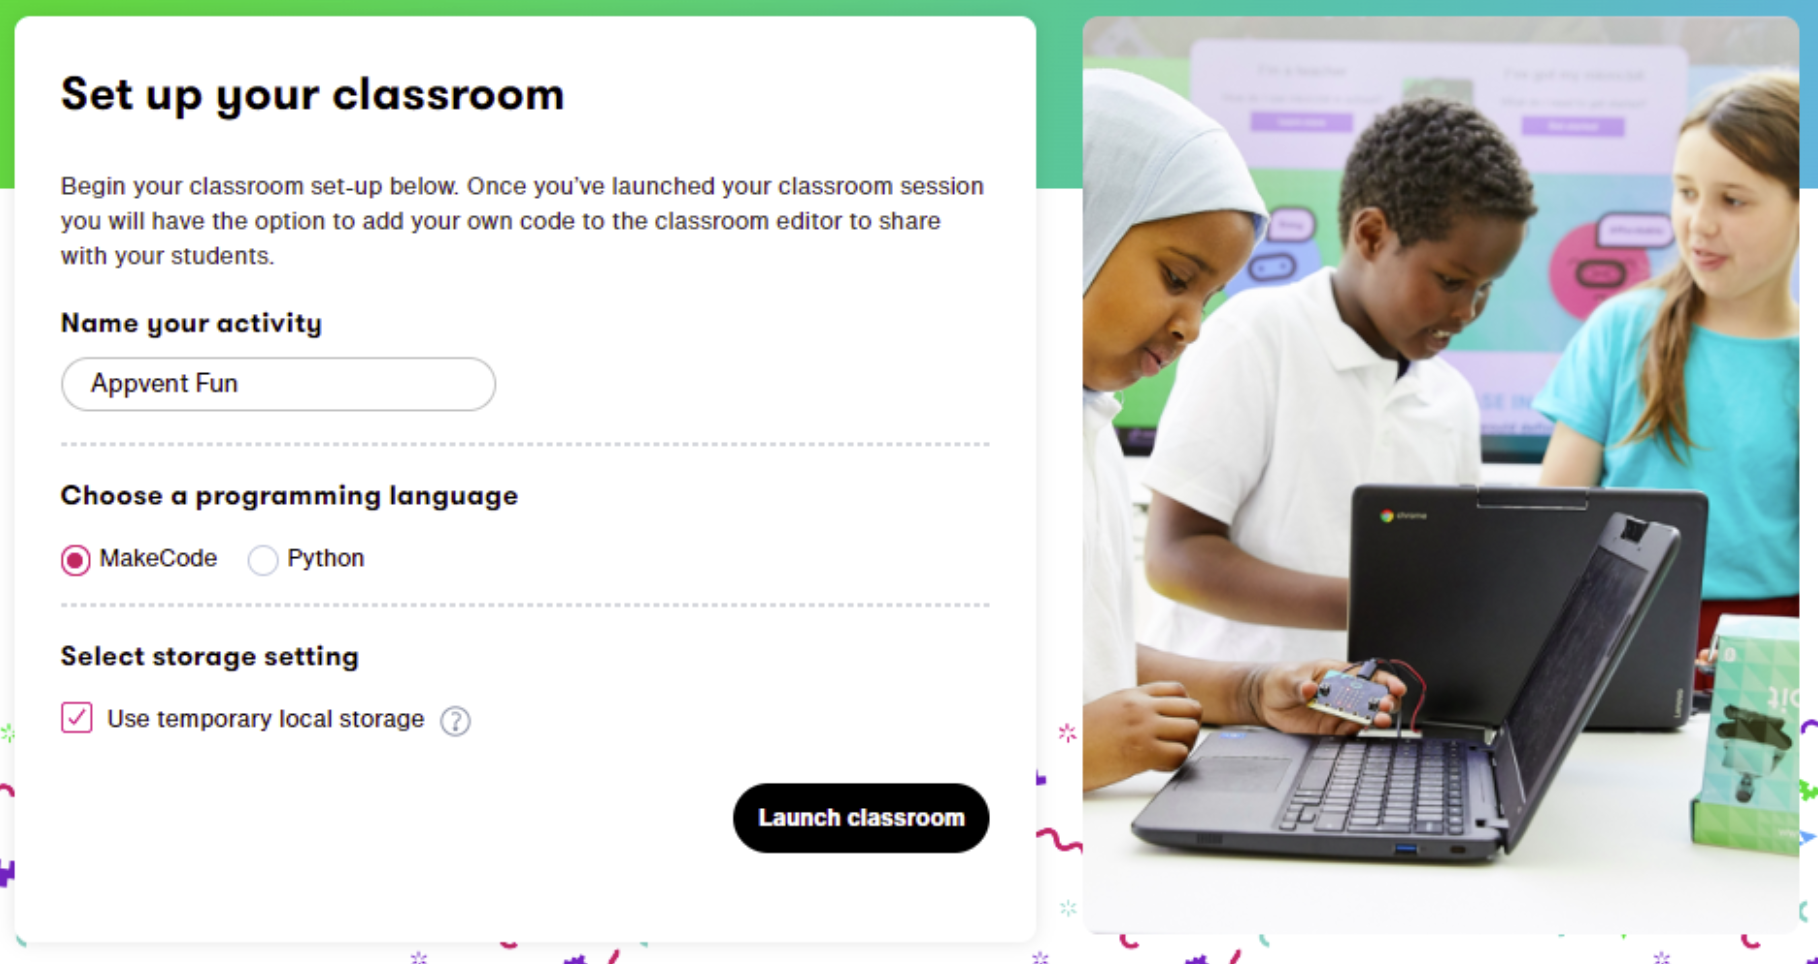
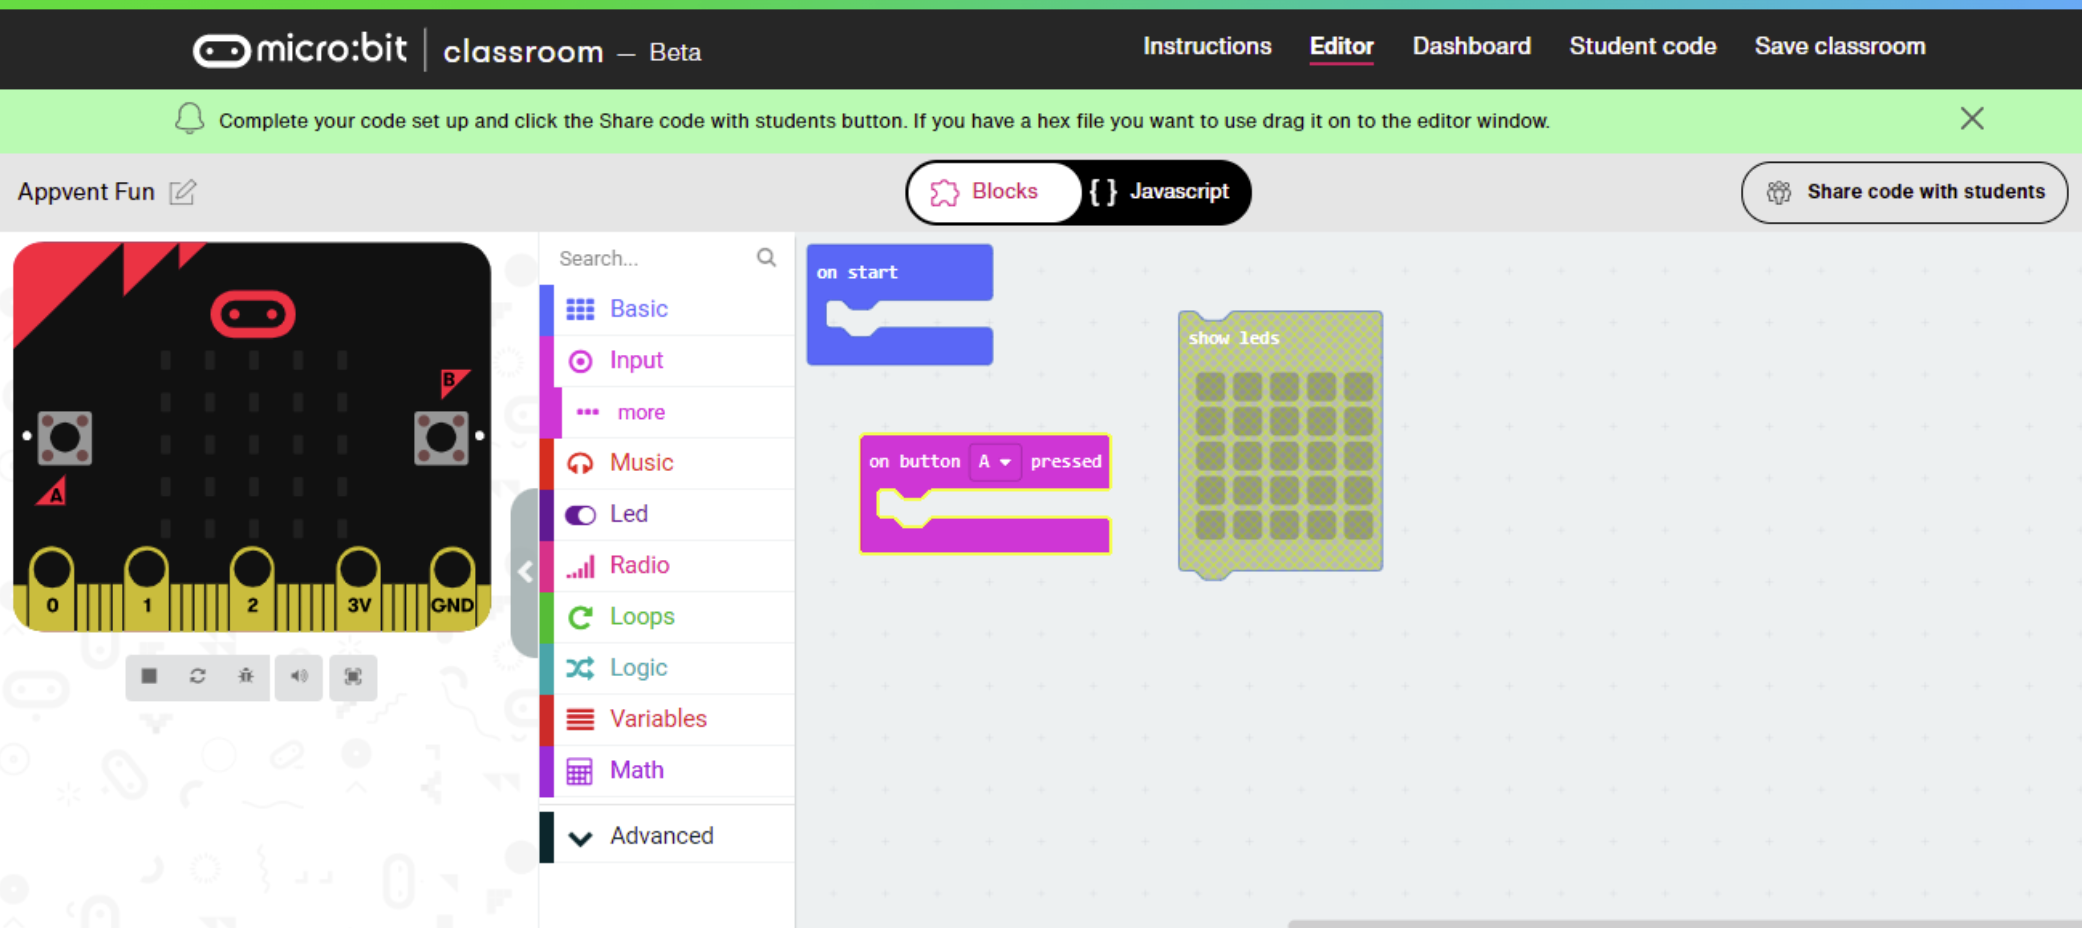
You will then be greeted with a screen that shows the four steps. You must complete the first step at this point by browsing to the editor page and dragging and dropping the blocks that you want students to use in their workspace.
Step 2: Invite students to join (Dashboard link)
You might be prompted to click the share code with students at this point which is slightly confusing as we haven’t onboarded any students yet. This part could be a little clearer, to be honest. However, if you click on the instructions at the top you will see that you now need to click on the Dashboard link at the top to generate a URL, Classroom Name, and Pin code which students can then use to join your classroom!
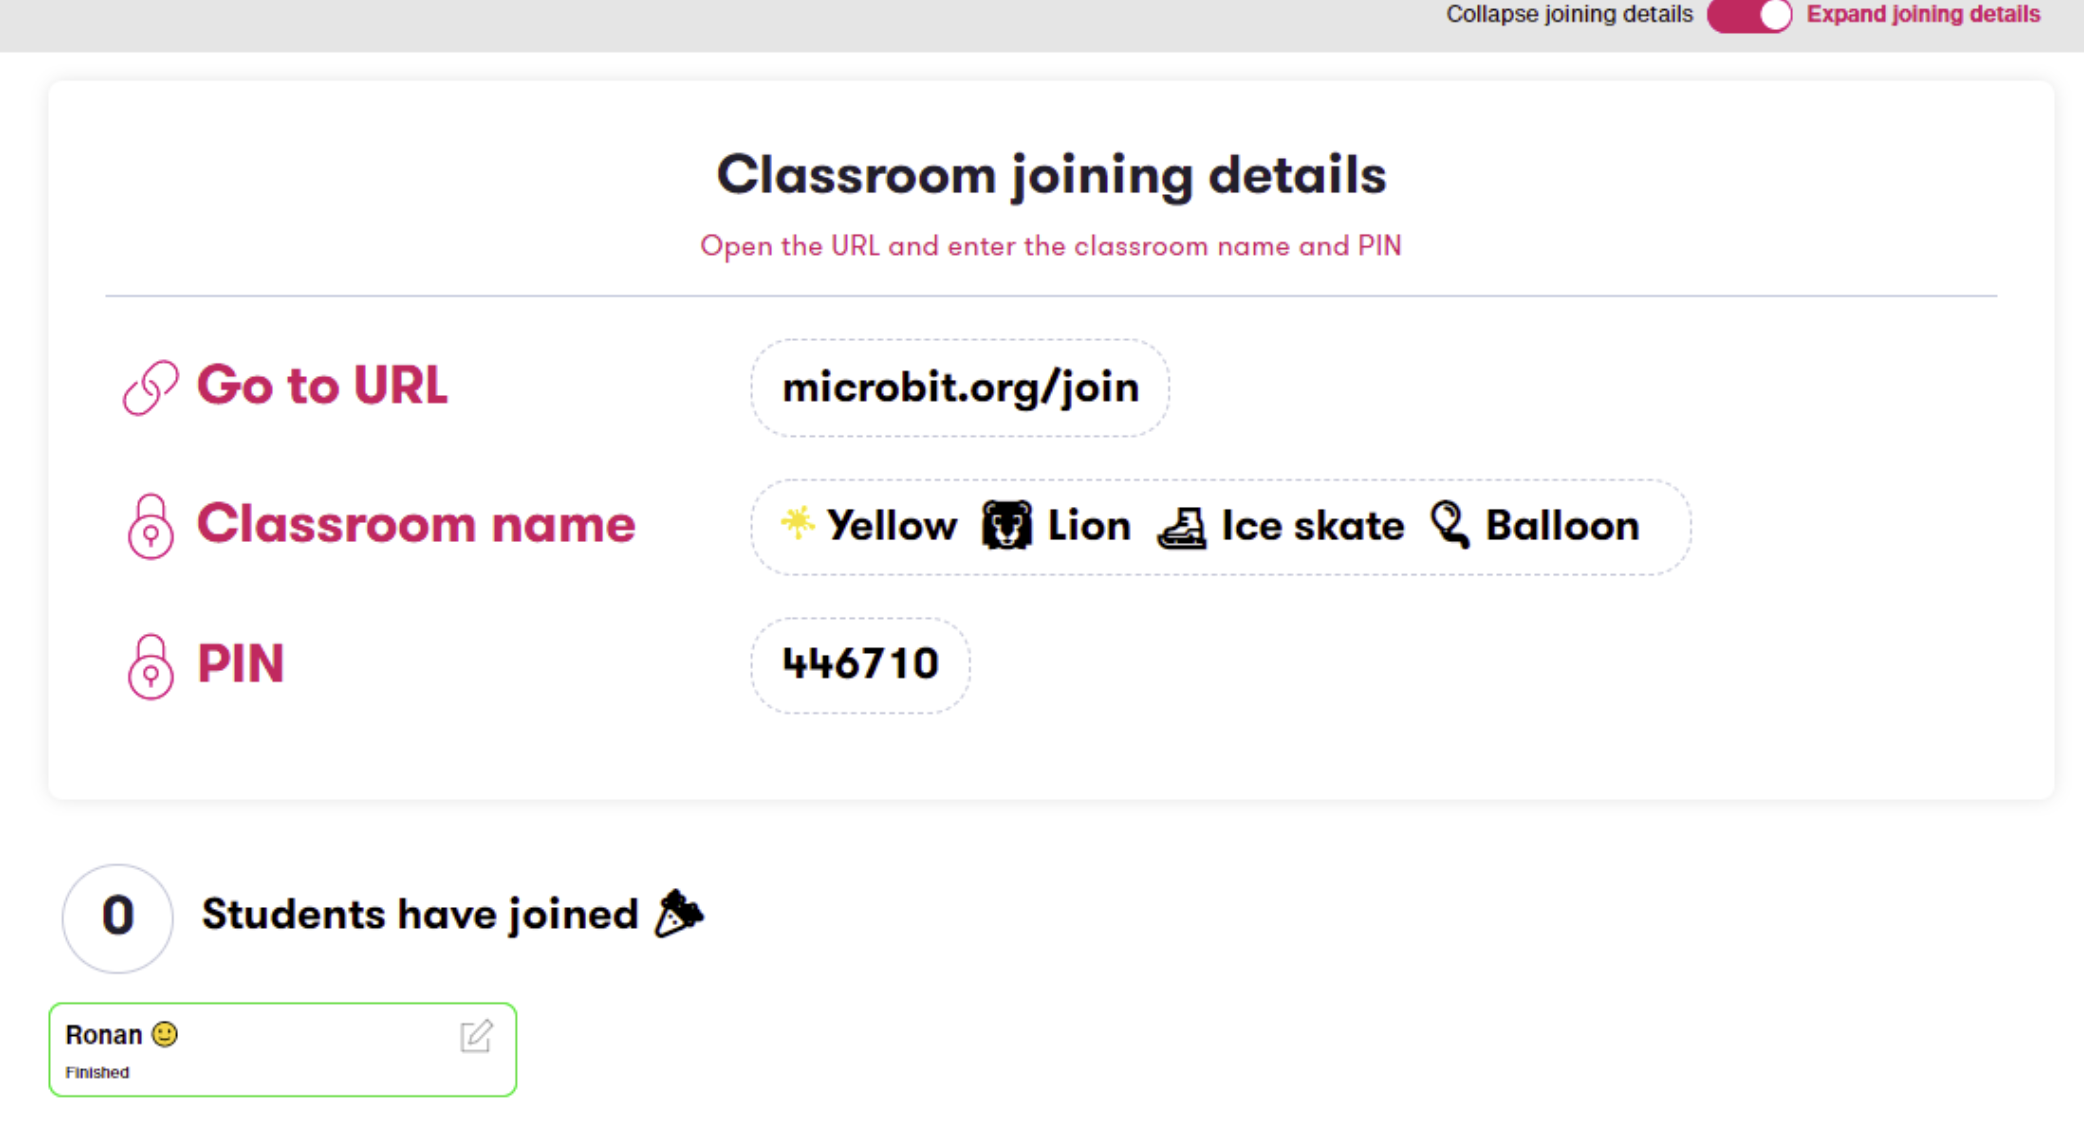
They just need to enter the details and their name to enter.
Once they have entered the classroom, they will then have access to the blocks and can complete the activity and submit via the button on the top right of the screen.
Step 3: See your student’s live code (Student code link)
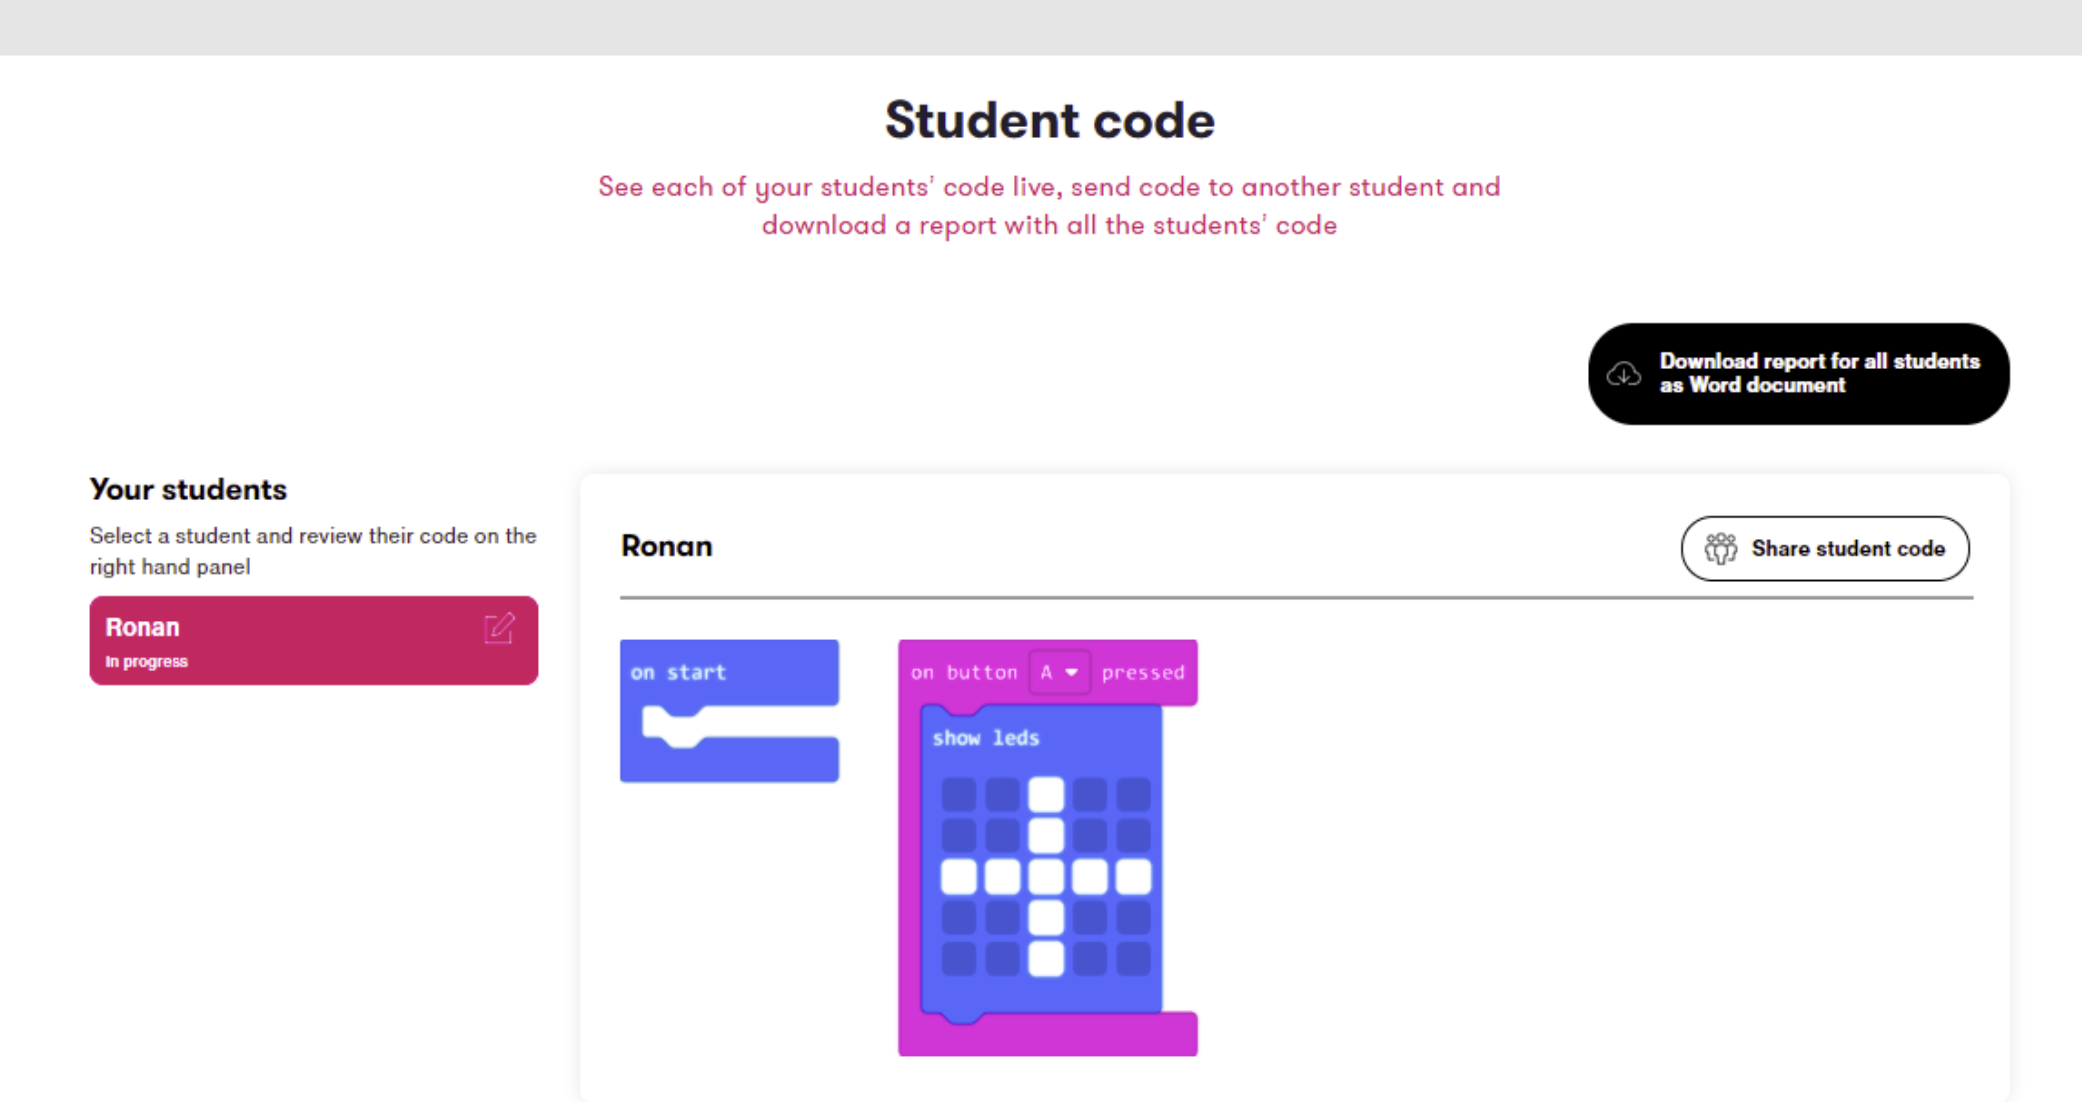
This is such a great feature! You can see your students working through your activity.
Step 4: Collect evidence (Save classroom)
Once your students have all completed the activity you can download an HTML file so you can access the work at a later date. However, this was a little confusing and I think a lot of teachers would prefer to go to the Student code section and download a Word file that contains screenshots of completed tasks.
Anything else?
It’s worth bearing in mind that this is still in beta version so the developers are working on it and glitches are to be expected. Nevertheless, it’s a fantastic tool and completely free.
It’s also possible to send new work to extend students. I didn’t test this in practice but the video below covers this and all the features described above:
https://www.youtube.com/watch?v=fz4MKQrilIE
Can I access any online CPD to learn more about the tool?
The Micro:bit Educational Foundation website provides an informative section on the tool here:
https://microbit.org/get-started/user-guide/remote-teaching/#micro:bit-classroom

