Something that I have always been keen to try and support with my sharing around edtech has been activities that meet a few key criteria.
Firstly they ideally need to be easy to use. Secondly, they should provide an opportunity for students to be able to use it with the minimum of effort but with the maximum learning return for the investment in time in the activity. Sometimes it isn’t about the learning, for example, it could be about ensuring accessibility. Thirdly, the tool should ideally be platform agnostic in that it would be available on almost any device, regardless of platform, be it Android, iPadOS, Chrome, Windows, whatever.
One such tool which meets this brief and is hugely scalable in terms of the learning activities and opportunities that come within the app is, ThingLink.
What is ThingLink?
If you haven’t come across ThingLink before, effectively, it is the ultimate annotation tool for learning. With ThingLink you can upload any image content that you would like (including 360° images) and then append a wide variety of content onto that image.
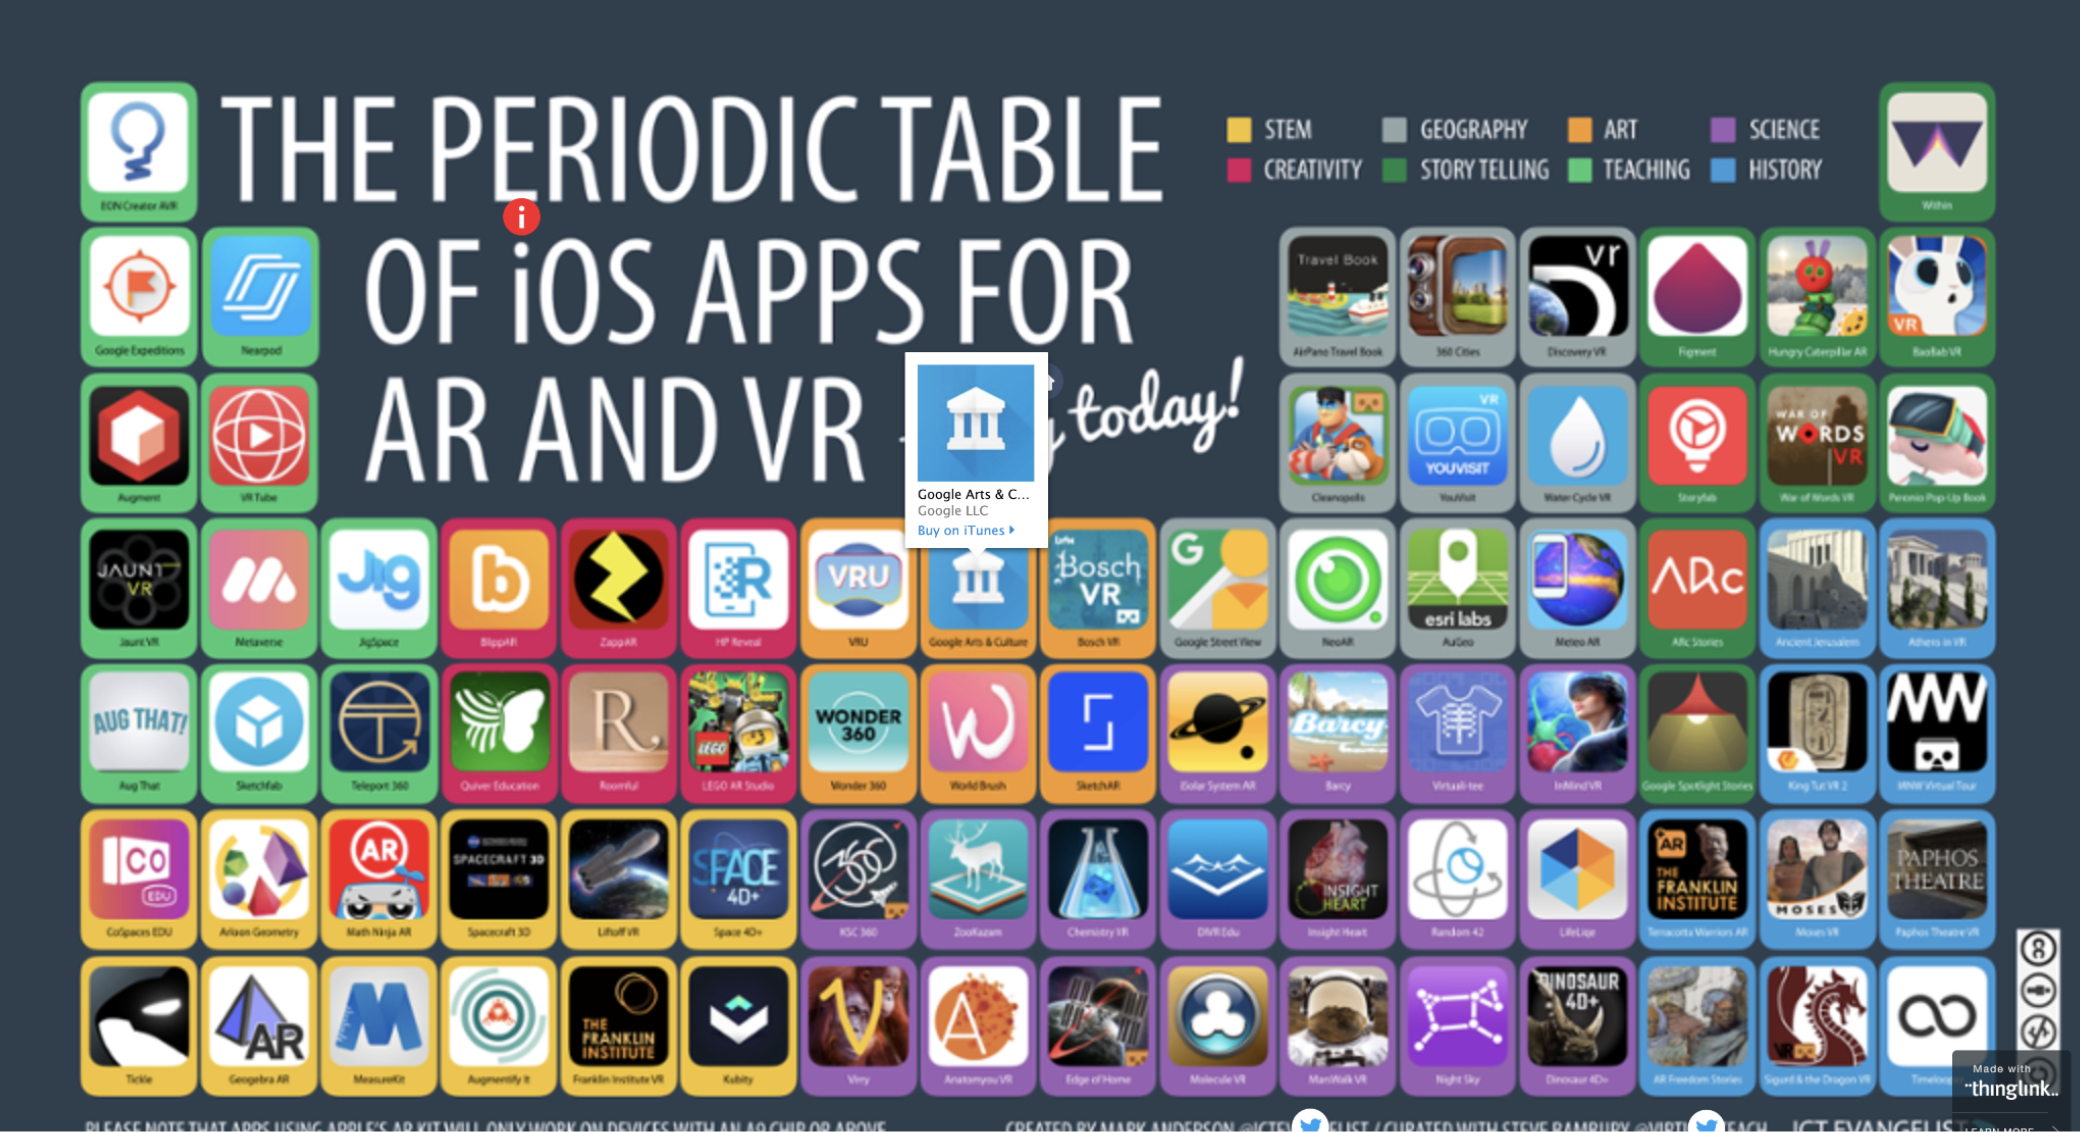
So for example, when I made the first Periodic Table of AR/VR Apps, I put a link upon each of the 82 apps which would take you to the App store where you could download or learn more about each of the particular apps.
This is a great way of making a document interactive, however – you can do something very similar with many other tools such as PowerPoint, Keynote and more. Plus, anything you’d made there could be easily saved as a PDF which would retain that hyperlink to go to the destination.
So, why ThingLink?
Whilst it is useful to be able to hyperlink certain aspects of an image, it is the flexibility of media you can add to an image on ThingLink which makes it stand head and shoulders above a simple tool that facilitates hyperlinking.
There are many types of interactive that you can create with Thinglink:
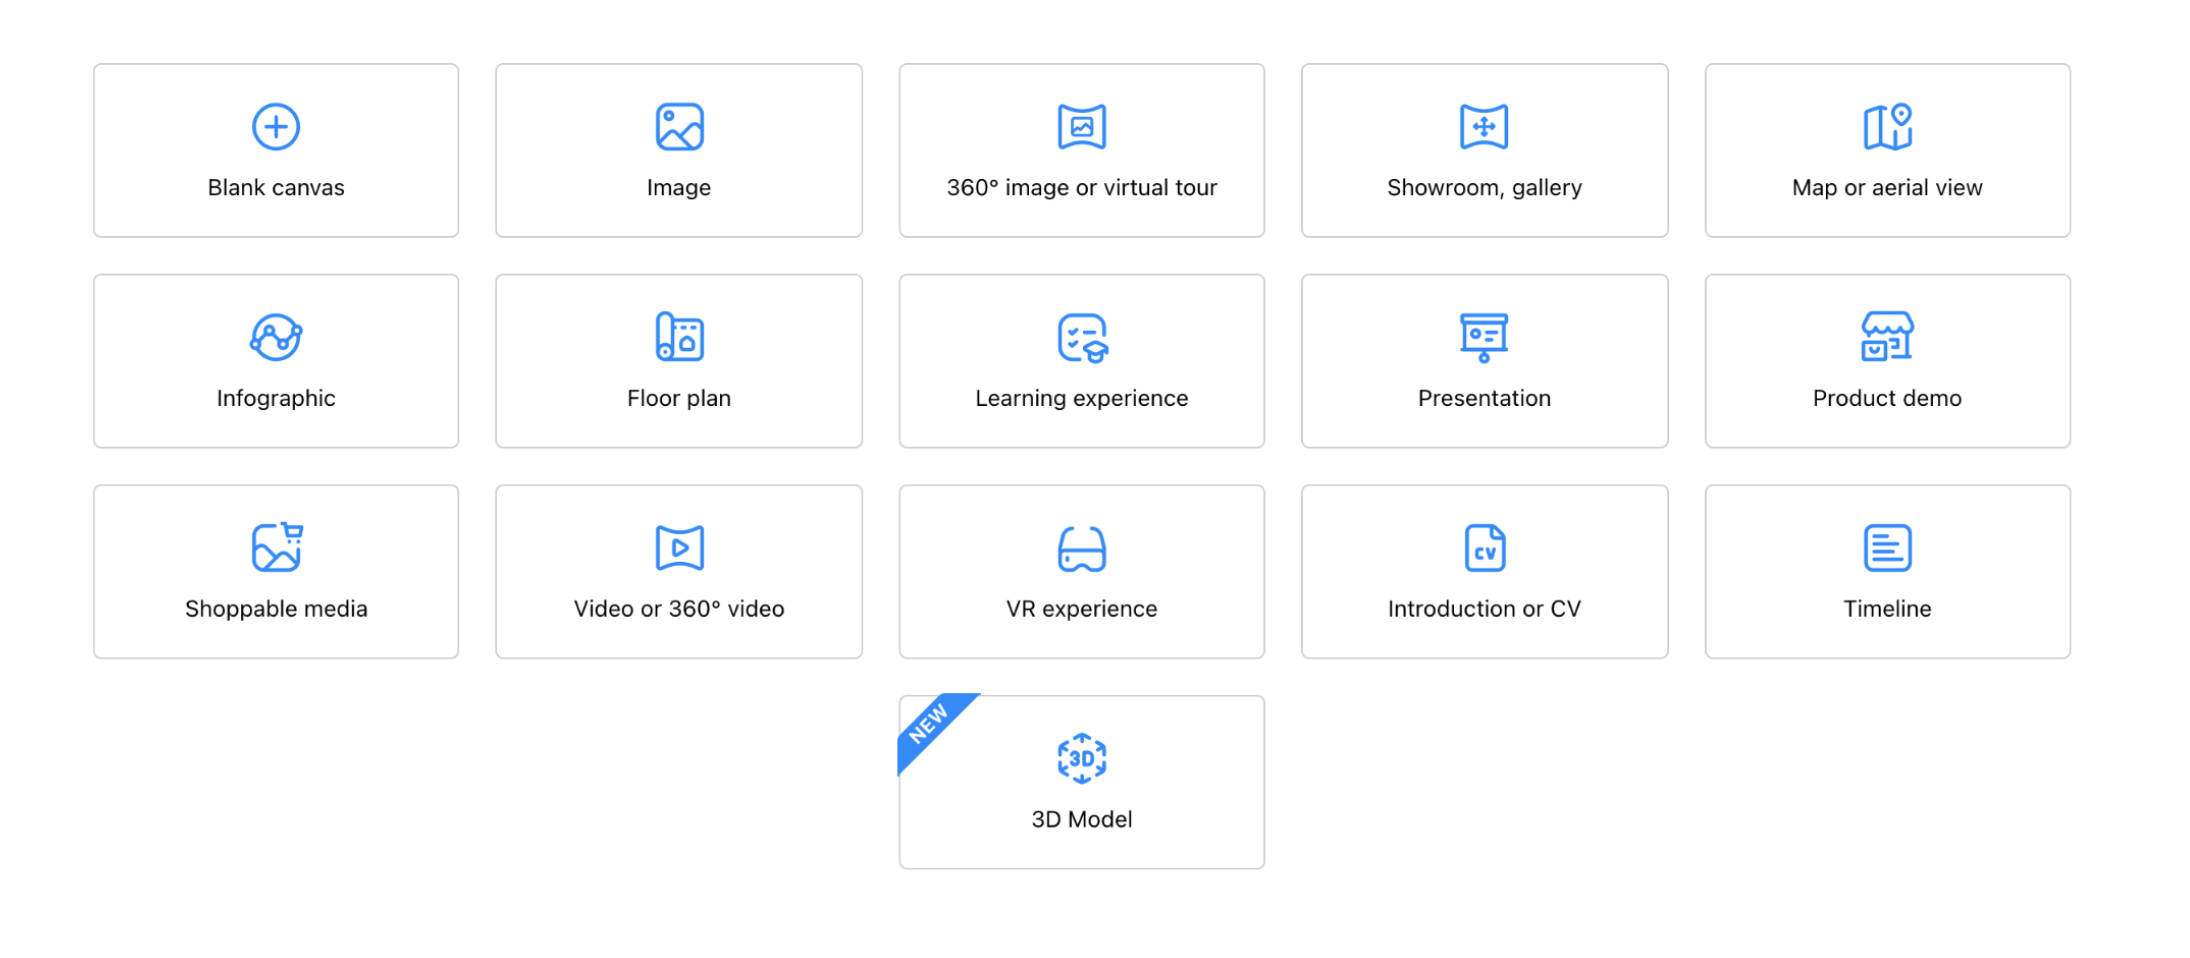
Embedded directly within the interactive created within ThingLink you can add lots of different types of content, such as:
- YouTube videos
- Audio files
- Video recordings
- Text documents
- Links to other tools such as Wakelet
- So much more!
The benefit of having these things embedded directly onto the interactive is that it means that viewers can see everything that you want to share on the interactive all in one place.
Have a look at this example based upon a 360° image from a Geography field trip…
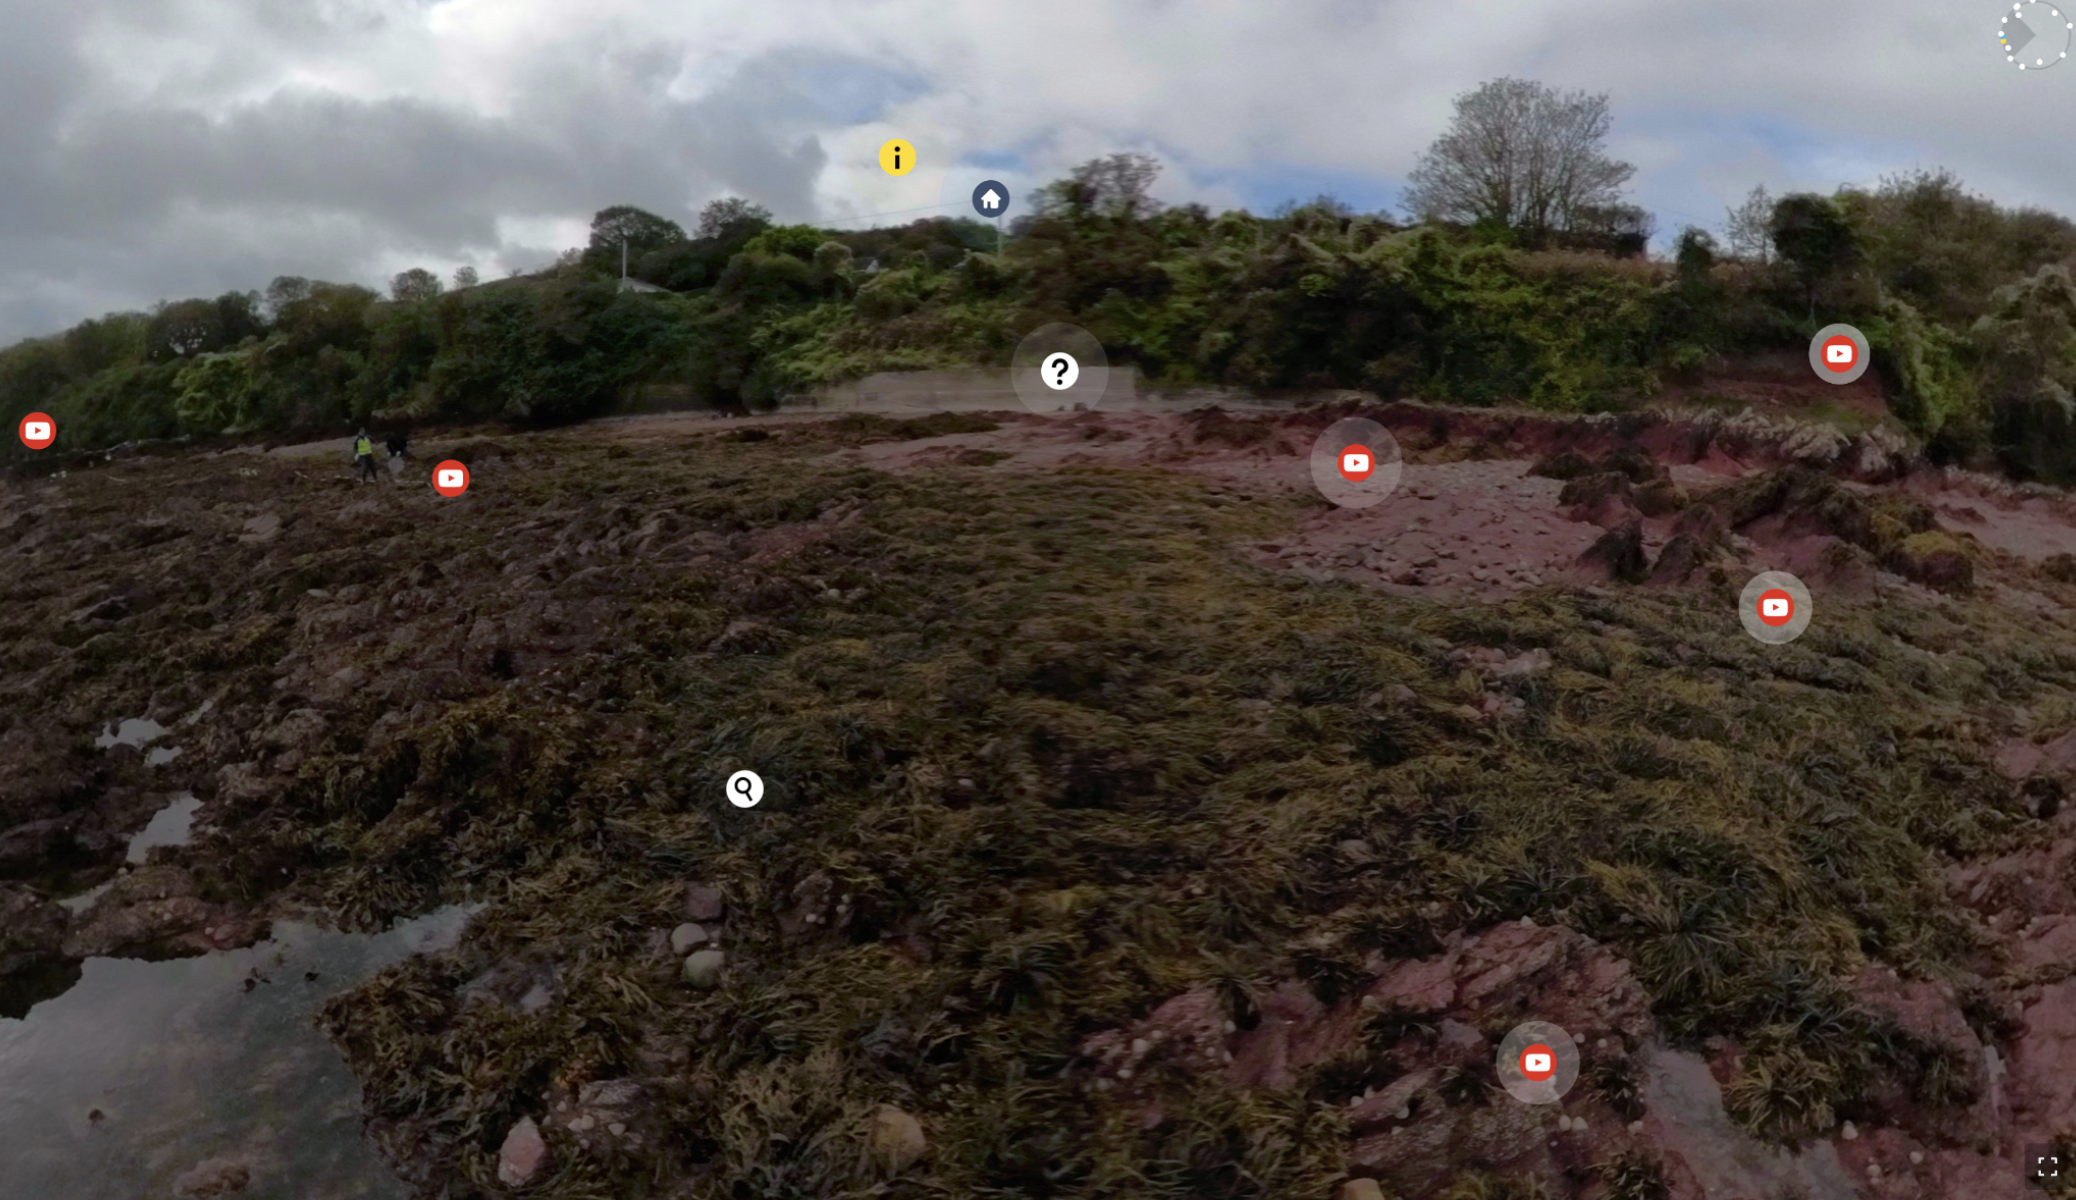
https://www.thinglink.com/videocard/1391050045746315266
The potential uses for ThingLink in the classroom are huge but putting learning activities that students can complete, the oracy it gives them the chance to demonstrate and the knowledge and skills they’ve learned, to one side – ThingLink is also a fantastic tool for creating eLearning resources that are particularly helpful in a hybrid, blended or remote teaching and learning setting.
Here are just some ideas:
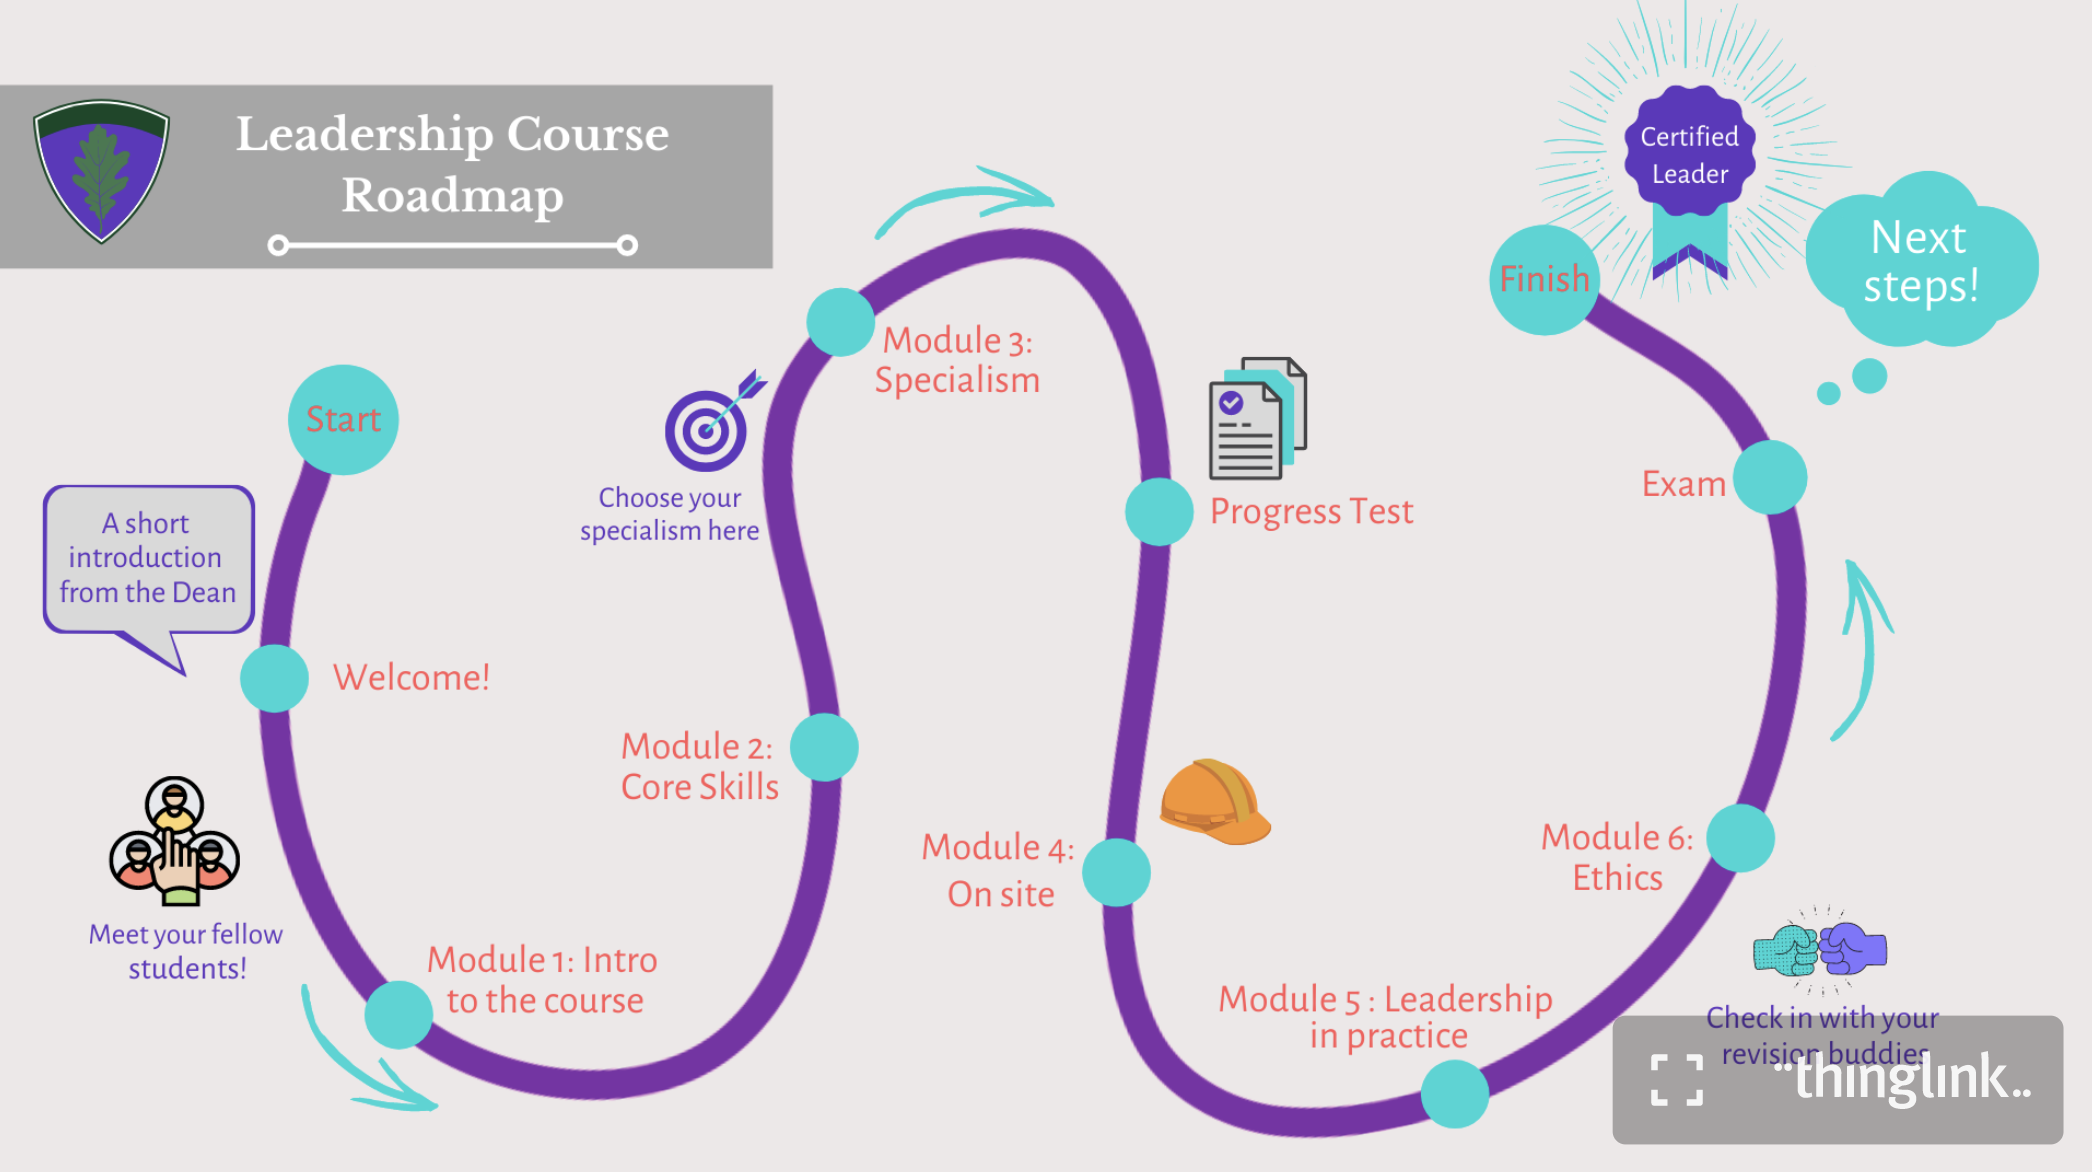
- Course Road Map
- A clean and simple infographic
- A timetable for younger students
- A simple virtual classroom
- Class choice boards
- Campus tours
… and if you’re looking for more and more information on those suggestions above, have a look at their resources shared earlier this year with some templates included for free too, here.
Learn more about ThingLink on their website or why not download the Android or iPadOS apps to learn more about this great tool for learning and teaching.

